Back to list of FAQs
How do I generate XBRL in SmartXBRL?
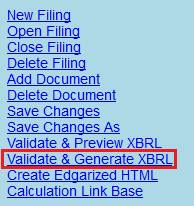
To validate and generate your finished XBRL document, click on the “Validate & Generate XBRL” link on the bottom left of the screen.
You will see a window allowing you to select which sections of your document that you want to include.
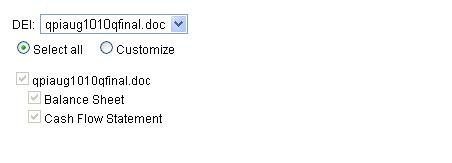
Choosing ‘Select all’ will generate XBRL for all of the tables in your filing. Selecting ‘Customize’ will let you pick and choose which tables you want SmartXBRL to generate into XBRL. When ‘Customize’ is selected, you can pick and choose which tables you want generated by clicking the checkboxes next to the names of the tables.
At the bottom of the window, you will see this set of buttons:
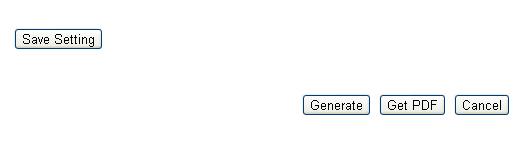
Select ‘Save Setting’ in order to save any of the choices you made above. You can also generate your XBRL by selecting ‘Generate,’ or generate a PDF of your filing by selecting ‘Get PDF.’
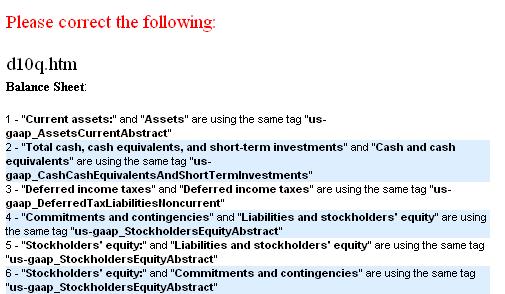
If you have validation errors in any of your tables, they will be listed for you in a pop-up window. The errors must be fixed before you can generate your XBRL filing.
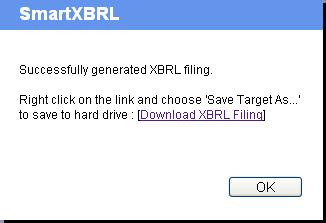
If there are no validation errors, then a dialog box will appear telling you that the XBRL filing has been successfully generated. To download the filing, right click on “Download XBRL Filing” and select “Save Link As…” or “Save Target As…”
With little effort on your part, we can detail tag your XBRL data quickly and accurately using our revolutionary cloud-based SmartXBRL software. Contact us to get started |
|
- Dena, Magnum Group