


Overview
The first thing you need to do before you can start EDGARizing a document is to create a project. Once you do that, you will be able to add all the documents that are necessary to complete a filing project.
Tip: SEC Publisher requires you to add at least one document into the Project (‘Step 2’ from the screenshot below) and specify the output format for that document (‘Step 4’).
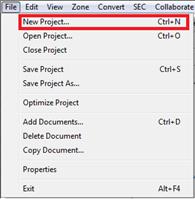
To start the project creation process, click Create Project from the following menu or toolbar, or use the keyboard shortcut:
File > New Project
![]()
CTRL+N
The following dialog box will appear:
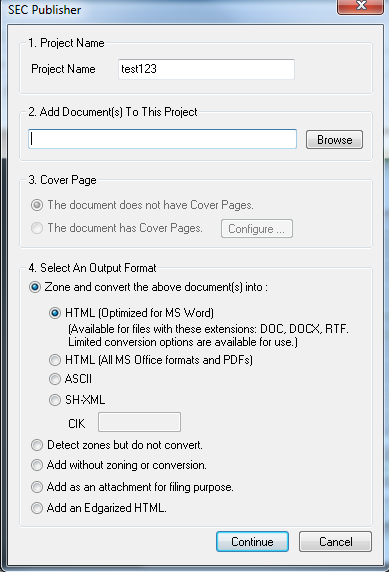
Choose a name for the project.
In this interface, you are able to add as many documents as you want. Simply click-and-hold the CTRL key and click the file(s) to add them into the project.
Cover page(s) are the first page or the first two pages of the primary document that has information relevant to the entity submitting the filing. Selecting this option allows SEC Publisher to convert the page(s) differently than the rest of the document. Let SEC Publisher know if the document contains cover page.
Tip: You will need to assign a cover page only if the document has a cover page attached to it. SEC Publisher will EDGARize the document even if you do not assign a cover page.
This option allows the document(s) to be converted to the specified type.
This option allows the document(s) to be automatically zoned, but allows you to specify what format the document(s) will be in at a later time.
This option allows the document(s) to be imported into the project, but leaves the zoning and conversion up to you (see ‘Creating Zones’ for more information).
This allows special documents to be added to a project without worrying about zoning or converting it, like a document created by the SEC’s N-SAR program for an N-SAR-A or N-SAR-B filing.
This adds a previously EDGARized HTML document to the project.
Press the ‘Continue’ button to start the process.
If the file name of the document that you include in a Project does not meet the SEC naming conventions, SEC Publisher may automatically recommend an alternative filename.
SEC Publisher automatically detects unknown character(s) in the document during initial conversion and recommends replacement character(s). You will be able to access this functionality under ‘Characters Substitution’ pop-up window.
(See ‘Preparing Your Documents for Conversion’ for more details.)
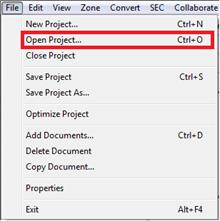
You can open a project any time. Click Open Project from the following menu or toolbar, or use the keyboard shortcut:
File > Open Project…
![]()
CTRL+O
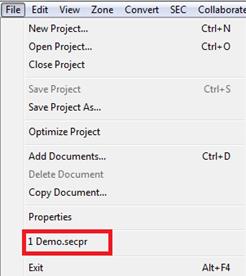
To open a Recently Used Project, go to the drop down menu and click on File. Recent projects will be listed towards the bottom of the drop down menu.
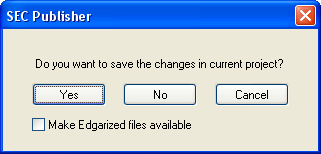
If you are currently working on a project while trying to create a new project or open an existing one, the following dialog box may appear:
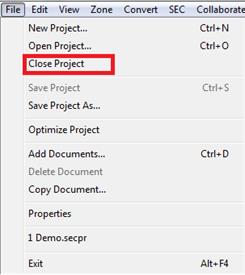
You can close a project any time. Click Close Project from the following menu:
File > Close Project
The following dialog box will appear:

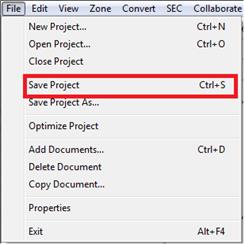
To save a project, click Save Project from the following menu or toolbar, or use the keyboard shortcut:
File > Save Project
![]()
CTRL+S
The project will be saved under a ‘.secpr’ file extension.
Tip: After closing the project, all files are saved as part of the project file (*.secpr).
In order to access the EDGARized file(s) after closing the project, you will need to select the Make EDGARized files available option (see ‘Make EDGARized Files Available’ for more information).
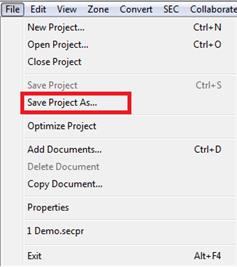
To save a project under a different name, choose File > Save Project As.
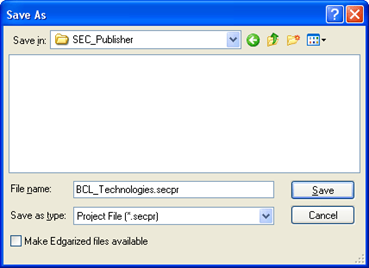
The following dialog box will appear:
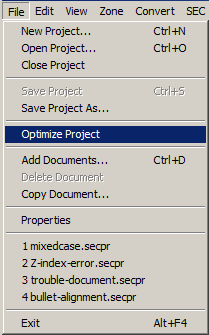
‘Optimize Project’ cleans up (removes) temporary files that may have been left behind after a conversion.
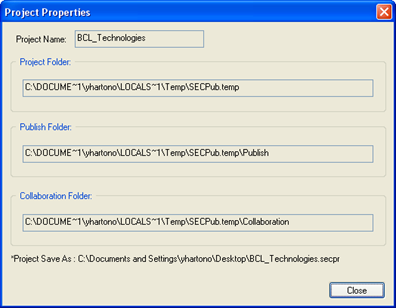
The ‘Project Properties’ dialog indicates where all the project files are stored. By default, SEC Publisher stores the files in your local setting folder.
To access the Project Properties dialog from the drop down menu, go to File > Properties.
The following dialog box will appear:
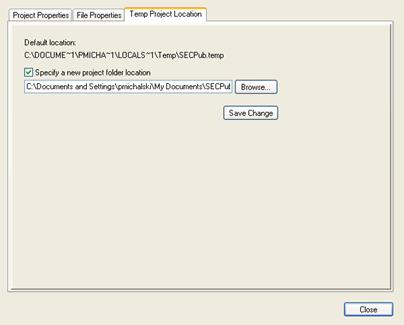
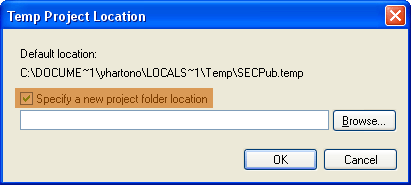
If for any reason you cannot access the default location for the temporary file, you can change it to another location:
File > Properties then select Temp Project Location tab.
Related Topics
©1999-2022 BCL Technologies. All Rights Reserved. Unauthorized duplication or distribution prohibited.
| Converted from CHM to HTML with chm2web Standard 2.85 (unicode) |