


Overview
You can add as many documents as you need to a project. Simply follow the steps below to add documents:
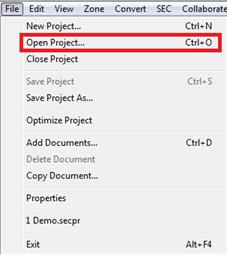
File > Open Project…
![]()
CTRL+O
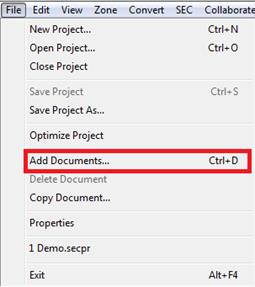
File > Add Documents…
![]()
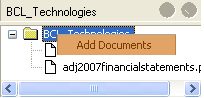
If you do not see the project window, go to the drop down menu and check View > Project or press F9.
Right click on the project name and click Add Documents…
CTRL+D
The following dialog box will appear:
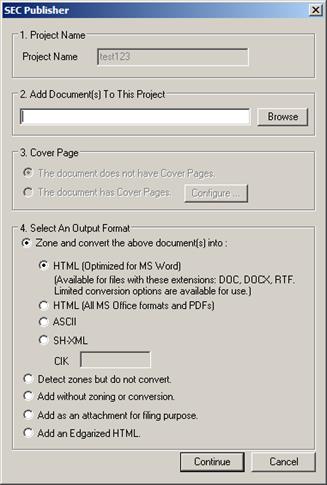
a. Notice that in ‘Step 1’, you cannot change the Project Name. The documents will be added to the current project.
b. Click Browse button to find document(s) to add. You are able to add as many documents as you want. Simply click-and-hold the CTRL key and click the file(s) to add them into the project.
c.
Select a
cover page (if the document contains one)
If the first one or two pages of the document to be added contains
information relating to the filing that is to be submitted, SEC
Publisher can convert those page(s) so that they come out
cleanly.
d. Select An Output Format
This section allows you to select what SEC Publisher will do to the document(s).
o Zone and convert the above document(s) into HTML (Optimized for MS Word), HTML (All MS Office formats and PDF), ASCII, or SH-XML
This option allows the document(s) to be converted to the specified type.
o Detect zones but do not convert
This option allows the document(s) to be automatically zoned, but allows you to specify what format the document will be in at a later time.
o Add without zoning or conversion
This option allows the document(s) to be imported into the project, but leaves the zoning and conversion up to you.
o Add as an attachment for filing purpose
This allows special documents to be added to a project without worrying about zoning or converting it, like a document created by the SEC’s N-SAR program for an N-SAR-A or N-SAR-B filing.
o Add an Edgarized HTML
This adds a previously EDGARized HTML document to the project.
Tip: You can add as many documents as you need to a Project. You can add any of the following document types to the project:
o
Word (*.doc
or *.docx) ![]()
o
PowerPoint
(*.ppt or *.pptx) ![]()
o
Excel
(*.xls or *.xlsx) ![]()
o
PDF
(*.pdf) ![]()
o
Rich Text
Format (*.rtf) ![]()
o
Text
(*.txt) ![]()
o
HTML (*.htm
or *.html) ![]()
o
JPEG
![]()
There are other types of files that can be processed through SEC Publisher if they are printed as PDF files.
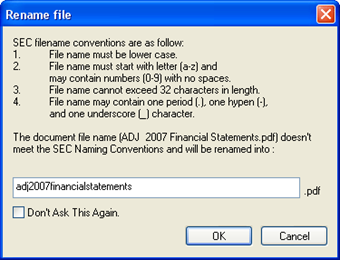
The SEC filename conventions are as follows:
If one of the above rules is not met, SEC Publisher will automatically provide an alternative name for the file as you add it to the Project.
Check this option if you want SEC Publisher to automatically check and rename the filename to meet SEC naming convention (without prompting you).
Tip: Please note that if ‘Cancel’ button is selected, the document will not be added to the project.
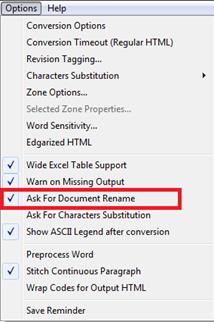
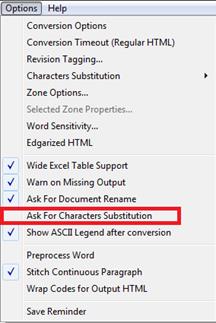
If you want SEC Publisher to automatically check and rename the filename to meet SEC naming convention, go to the dropdown menu, select Options > Ask For Document Rename, and uncheck Ask For Document Rename.
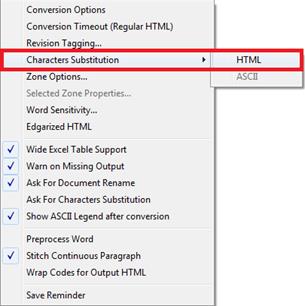
SEC Publisher automatically detects unknown character(s) in the document during initial conversion and displays the following dialog box, if applicable:
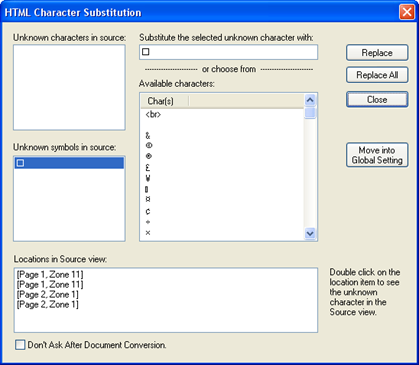
You can also manually access Characters Substitution from the drop down menu by clicking Options > Characters Substitution.
If you want SEC Publisher to automatically detect and change unknown character(s), go to the dropdown menu, select Options > Ask For Characters Substitution, and uncheck Ask For Characters Substitution.
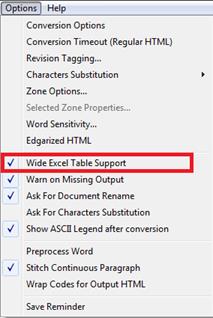
Select Options > Wide Excel Table Support to turn on this feature. Turning on the Wide Table Support will allow you to work on Excel document containing tables that are very wide and contain a large number of columns.
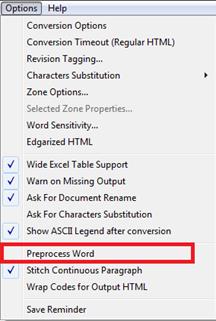
The Preprocess Word option is useful when you are experiencing issues with alignment and borders. Select Options > Preprocess Word to enable this option (checkmark indicates option is enabled). Enabling the ‘Preprocess Word’ option will significantly increase the period of time to complete the conversion process, since this option directs SEC Publisher to perform a pre-conversion analysis of the structure of the document. Therefore, if you are not experiencing issues with the alignment and borders, it is recommended that this option remains disabled (default).
Note: This option only applies when utilizing the ‘Optimized for MS Word’ option for converting documents.
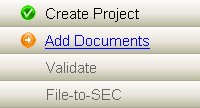
Related Topics
©1999-2022 BCL Technologies. All Rights Reserved. Unauthorized duplication or distribution prohibited.
| Converted from CHM to HTML with chm2web Standard 2.85 (unicode) |