


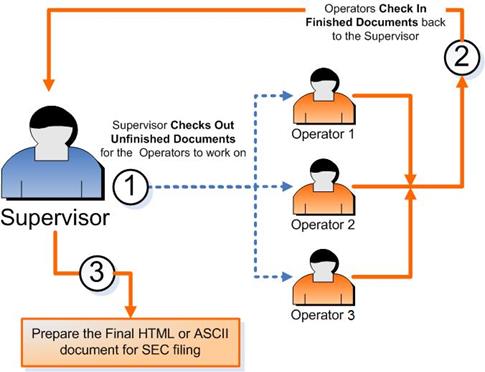
Step 1 (For Supervisor): Assign documents to operators (Check out)
Step 2 (For Operators): Work on the documents and send/email it back to supervisor
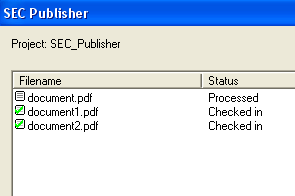
Step 3 (For Supervisor): Gather all the documents (Check In) and prepare it for filing
1.
Create a
Project and add a Document
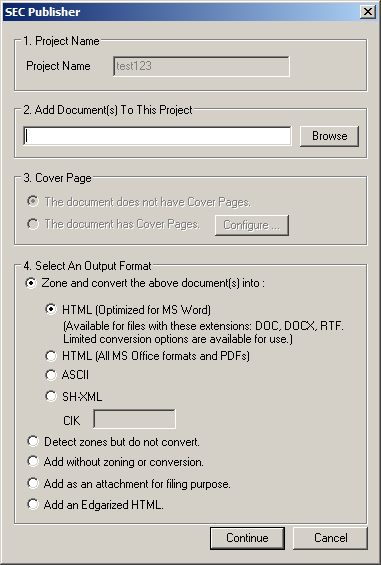
The following dialog box will appear:
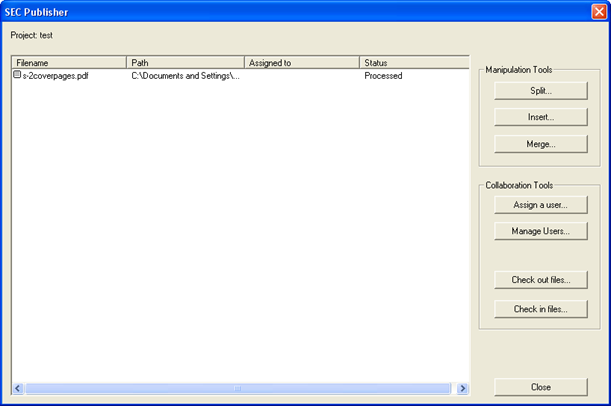
a. Insert a file into another file
You can insert a file inside another file. First, select the source file. Next, press Insert. You will see a list of all available files that you can insert into the selected file. Choose any one of them. There are three ways in which you can insert the second file into the first:
i. Before or after the first page
ii. Before or after the last page
iii. Before or after any page within the first document
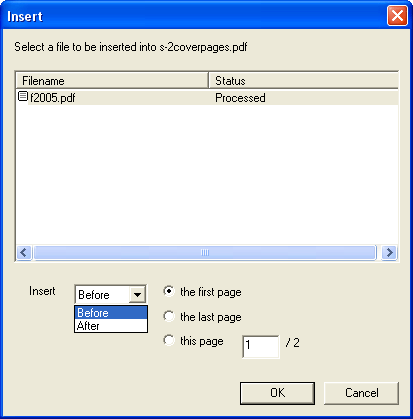
Tip: The first document retains its name, only now it has additional pages.
Tip: If a document contains internal hyperlinks and it is inserted or merged with another document, the original hyperlinks may point to a different or incorrect page. Please insert internal hyperlinks after collaboration (splitting, inserting or merging multiple documents).
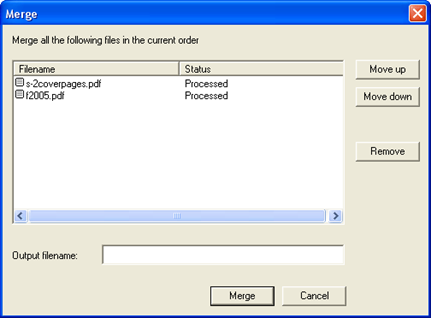
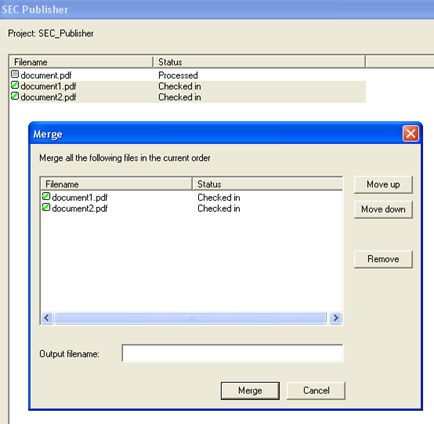
b. Merge files
You can merge two files (or more) in any order to create a different file.
i. Right-click to select the first file. Press CTRL + Right-click to select the other files that you want to merge with the first file.
ii. Alternatively, press Shift + CTRL + Right-click to select a continuous group of files that you want to merge.
iii. Select Merge.
iv. You can move the files up or down to re-order them. If you have selected a file by mistake, you can also remove it from this list before merging.
v. Give a new name to the merged file.
vi. Select Merge.
Tip: If a document contains internal hyperlinks and it is inserted or merged with another document, the original hyperlinks may point to a different or incorrect page. Please insert internal hyperlinks after collaboration (splitting, inserting or merging multiple documents).
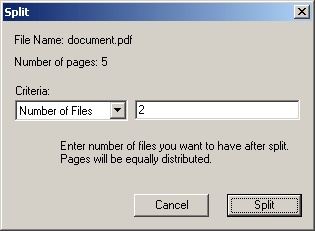
You can split any file into parts:
a. Select a file.
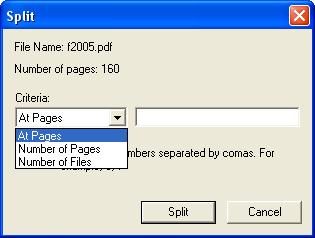
b. Select Split. There are three ways to split the files:
i. At Pages
You can decide on which pages you require the split to occur. Enter page numbers separated by comma. For example, if the document has 164 pages, choosing 20, 45 will split the file into three parts. The first part will have pages 1-19, the second 20-44 and the third, the rest.
ii. Number of pages
Enter the number of pages each part will have. For example, if you write 19 and the document has 164 pages, this will split the file into nine parts. The first eight parts will have 19 pages and the ninth will have 12 pages.
iii. Number of files
Enter the number of files you want it to be split into. For example, if the document has 164 pages, choosing 4 will split the file into four equal parts. All four parts will have 41 pages each.
Note: If you have already split a file and would like to re-split the same file in different ways, please follow these steps below:
a. First, remove all of the split files from the Project Window. You can go to Project Window by making sure that ‘Show Project’ option is turned on. You can remove any file from Project Window by selecting the file, right clicking on the file and choosing Delete File.
b. Split the file by going to Collaborate > Manipulation Tools > Split...
Tip: If a document contains internal hyperlinks and it is inserted or merged with another document, the original hyperlinks may point to a different or incorrect page. Please insert internal hyperlinks after collaboration (splitting, inserting or merging multiple documents).
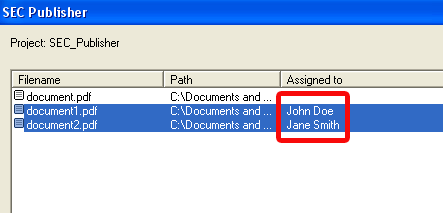
Now, select the first part of the document and click on the
Assign a User… button.
Select a user and click on the Assign button.
Then repeat the process for the second document and assign it to
the other user.
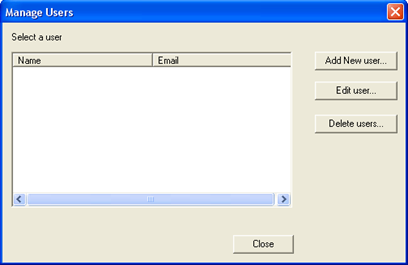
You can manage the user within the collaborative environment.
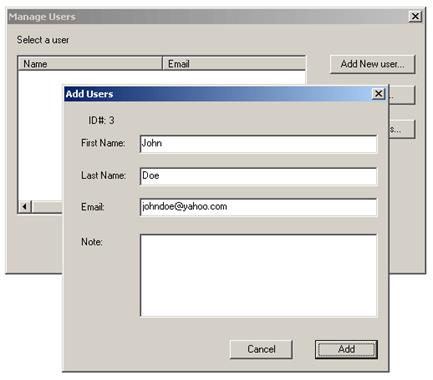
a. Add New User
This allows you to add participants to the group. Fill in the first name, last name, and email of the person you are adding to the group. You can also add a note for that person (optional).
b. Edit User
Use this option to edit the details of an existing user. You can update the first name, last name, and email of the person you are adding to the group. You can also modify the note for that person.
Tip: You need to select a user before you can edit his/her details!
c. Delete User
Use this option to delete an existing user.
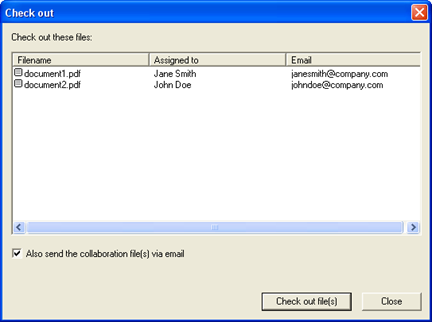
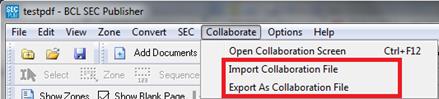
If
you want to send the .colpr files via email, click on the
Email checkbox.
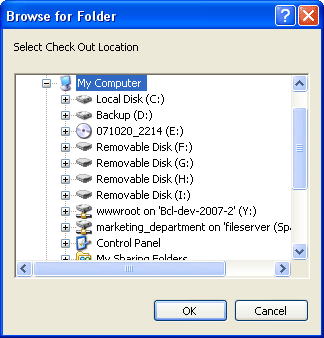
Review the list of documents to be checked out, and click on
the Check out
file(s) to generate the .colpr files to the
operators (make sure that you let your operators know which format
[HTML or ASCII or both] they should be working on).
Warning: If you click the 'Cancel' button, the documents will only be marked as checked out. The files however, have not been checked out yet. Please click the 'OK' button to check out the files.
Checked out files are saved with the extension .colpr.
Tip: You do not have to use the email option of this interface. If you do not check this option, you will be prompted to save the collaboration file to the folder of your choice.
Warning: If you split, merge or insert any documents to the project, a link.lk file will be generated and saved in the published folder. This is a system generated file. Please do not remove it.
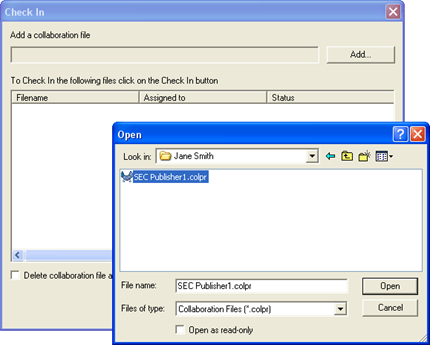
Finally, click on the Check In button to
finalize the check in process.
Related Topics
©1999-2022 BCL Technologies. All Rights Reserved. Unauthorized duplication or distribution prohibited.
| Converted from CHM to HTML with chm2web Standard 2.85 (unicode) |