


SEC Publisher comes with SEC Compliant ASCII Editor. It allows you
to make changes
directly on the ASCII document. The EDGAR ASCII Editor forces your
texts to fit in an 80-character format. It also provides you with
tools that you can use to manipulate
table structure
in the ASCII document. Columns are indicated by the
![]() sign.
sign.
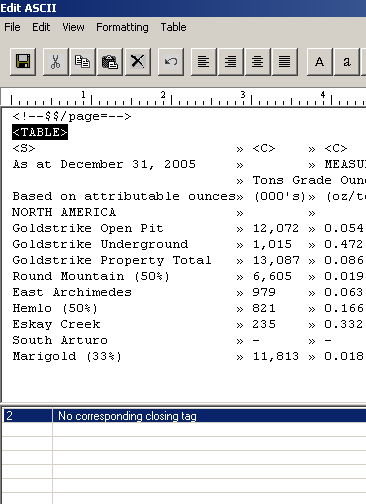
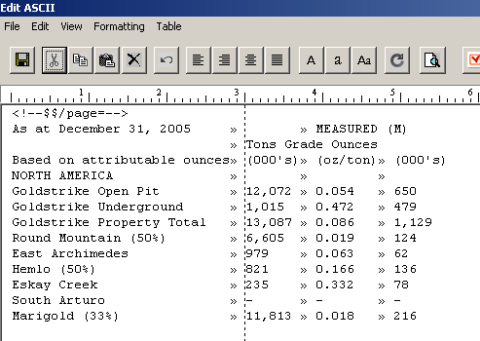
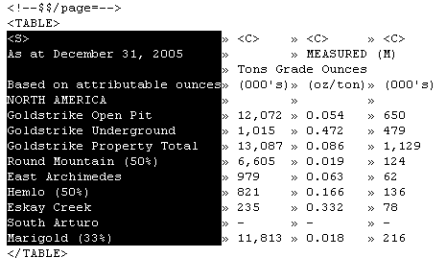
Tip: The ASCII editor shows the ASCII in a special view so that specific functions can be performed. Some of these functions are column selection, column alignment or row insertion, etc. This view is a special view and may look different than the final ASCII SEC Publisher produces. For example, this shows the column boundaries by special characters (>>). These will be replaced by the chosen column delimiter (such as ‘comma’, ‘space’ or ‘semicolon’) once the ASCII file is saved.
How to:
i. Change alignment of the text inside a table
iii. Insert a new column
iv. Split an existing column into 2 columns
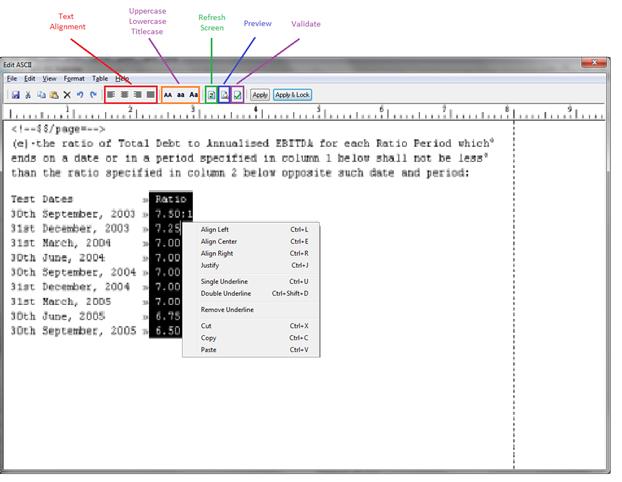
1. Click on the text inside the paragraph you want to align.
2. Click on one of the alignment buttons to align the text (left, center, right, justified). Or you can go to the Formatting menu and select the text alignment that you want.
1. Click on the words you want to apply the new case.
2. Click on one of the case buttons to change the case of the text:
a. Capitalize all letters
b. Lowercase all letters
c. Titlecase (the first letter of each word is capitalized)
Or you can go to the Formatting menu and select the font case that you want.
As you copy and paste text from other documents, SEC Publisher automatically EDGARizes the text to ensure 100% SEC compliancy.
Tip: During cutting and pasting any content from outside in the editor, the content is automatically EDGARized.
Validate Changes
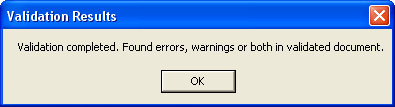
SEC Publisher's ASCII Validation checks your ASCII to ensure that it is SEC compliant.
Click on the Validate button to validate your changes. If there are problems, a window will show up on the bottom of the screen, listing each individual problem. Double-clicking on an entry will automatically take you to the line of code in question.
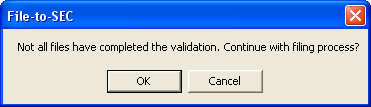
Even though SEC Publisher displays warning notices, you are still able to file their ASCII documents to SEC (see below for an example of a warning notice.)
Tab is a legal character for SEC filing. If you file an ASCII document which contains tabs, SEC will simply replace tabs with spaces.

Should you decide not to remove the tab characters, you will then again be prompted with warning notices when trying to validate the document and/or file the document to SEC.
To avoid receiving the warning notices, please refrain from pressing Tab key in the ASCII Editor.
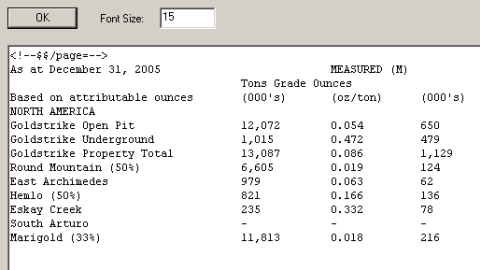
It is a good idea to test your ASCII page using the Preview feature. You can detect errors early and avoid copying or repeating them.
From the menu, choose View > Preview... to preview the page. In the Preview window, you can specify the font size to zoom in and out the page.
SEC Publisher ASCII editor provides a visual guide (ruler) to help you edit your ASCII table. It provides a visual cue for positioning and resizing the tables.
To change the ruler setting, do one of the following:
· To toggle rulers on and off, choose View > Ruler.
· To display a guide, choose View > Lock Guide. Then click anywhere on the ruler. The guide will be displayed (you can only create one guide line at a time).
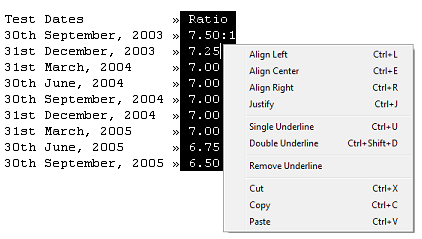
Right-clicking on a table or text will give you all the options you need to manipulate it.
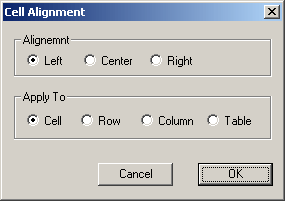
To change the alignment of text inside a table, follow the steps below:
1. Click on a text inside a table cell you want to align.
2. Then choose Table > Align Cells...
3.
Select the alignment that you want (left,
center,
right),
and choose whether the alignment should be applied to the current
cell,
the row or the column where the
cell is, or the whole table.
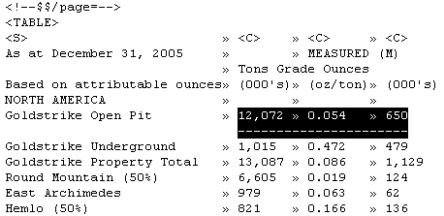
To select the entire column:
1. Click on a text inside a table cell you want the column to be selected.
2. Then choose Table > Select > Column...
To insert a new column:
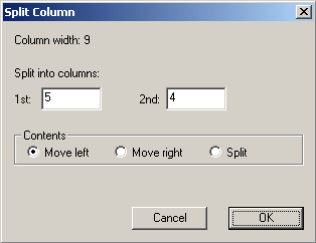
To split an existing column into two, follow these steps:
1. Click on a text inside the column you want to split.
2. Choose Table > Split Column.
3. Then specify how the column should be divided, and how the existing contents should be treated (move left, right, or split).
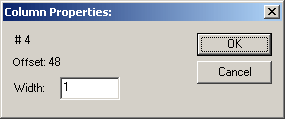
To view a column's properties:
1. Click anywhere inside the column that you want to view its properties.
2. Choose Table > Column Properties. Here you can specify a new width for the column.
To add an underline to the words inside a table, follow the steps below:
1. Select the words you want to underline.
2. Choose Table > Single Underline or Table > Double Underline.
Remove table information
If you remove the table information, you will not be able to manipulate the tables inside the ASCII page.
To remove table information, click anywhere inside the table and choose Table > Remove Table Information.
Related Topics
©1999-2022 BCL Technologies. All Rights Reserved. Unauthorized duplication or distribution prohibited.
| Converted from CHM to HTML with chm2web Standard 2.85 (unicode) |